SketchUp Plugin - Image to Perforated Panel

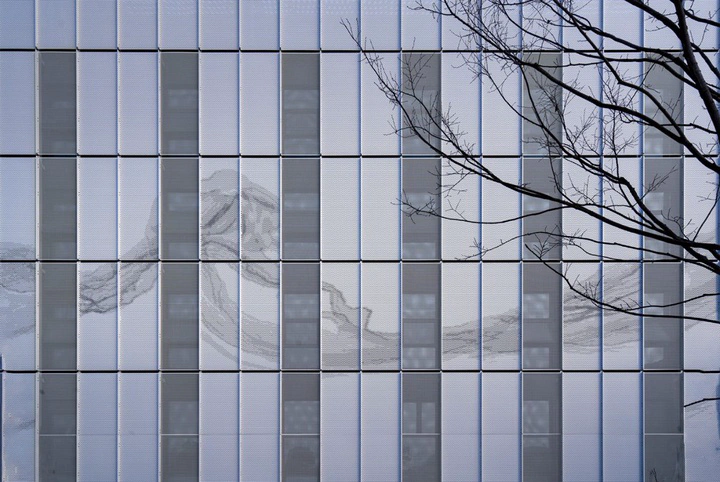
Plugin Introduction
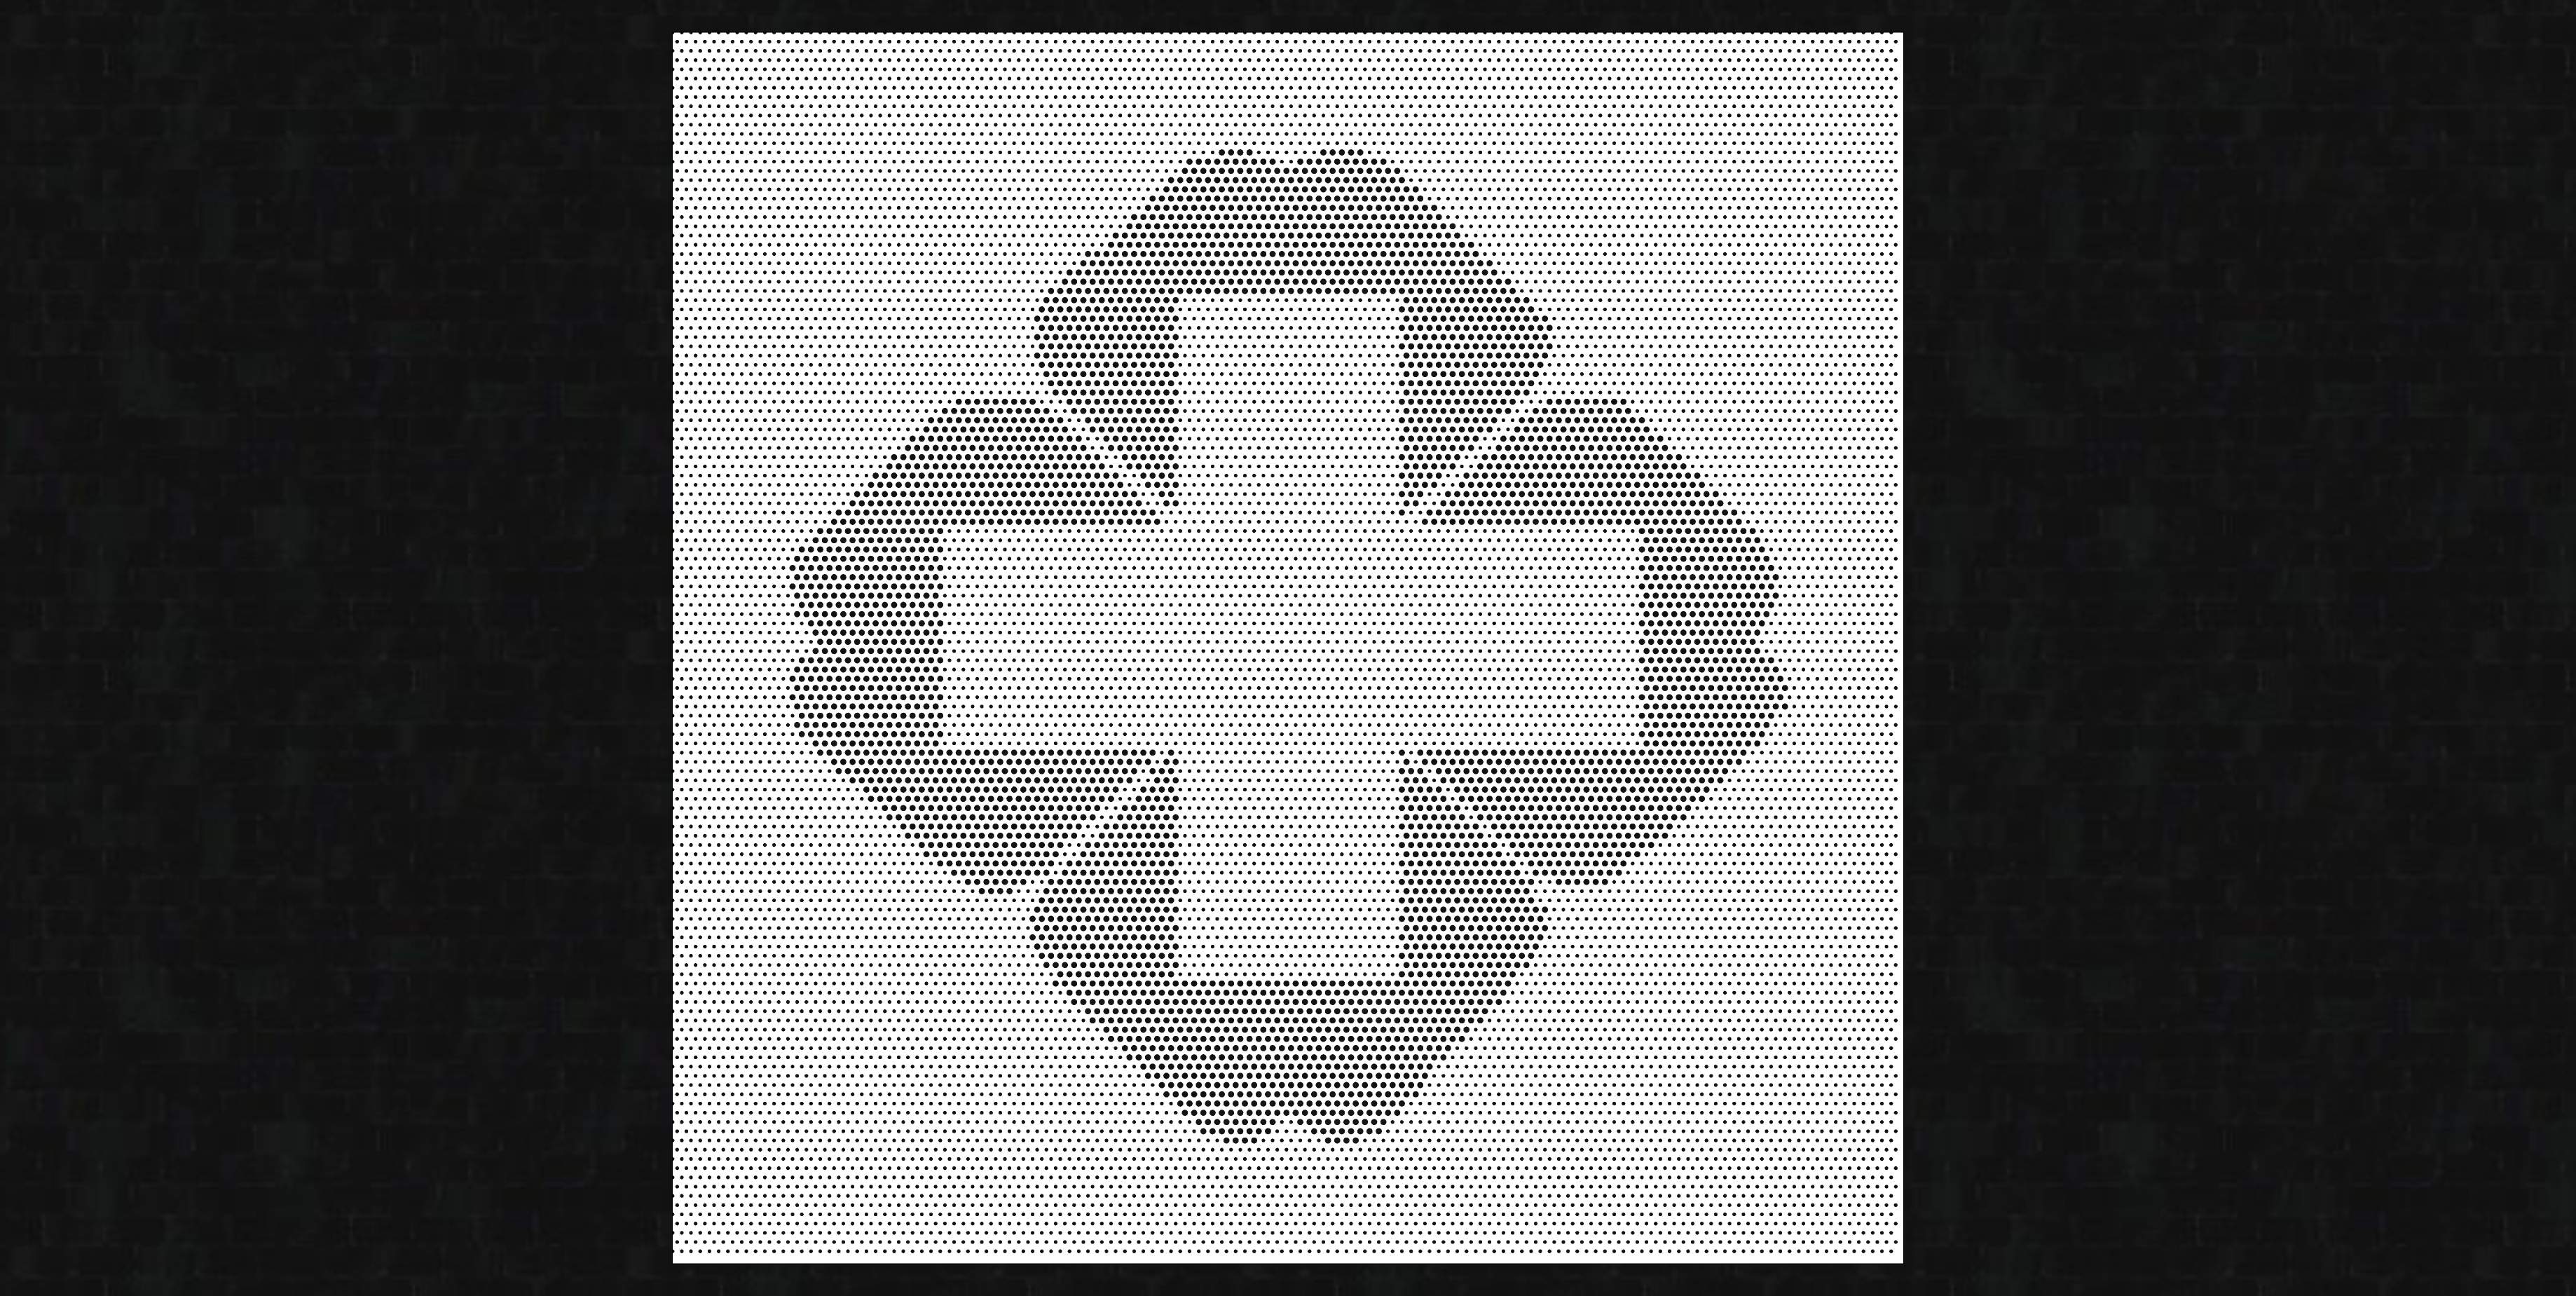
ImageToPerforatedPanel is a lightweight SketchUp plugin that transforms any image into a perforated aluminum panel model for architectural facades, interior decoration, art installations, and more. Using grayscale mapping technology, it automatically generates circular holes with diameters corresponding to image brightness — dark areas receive large holes, bright areas receive small holes — perfectly reproducing the image’s tonal hierarchy.
Plugin Showcase
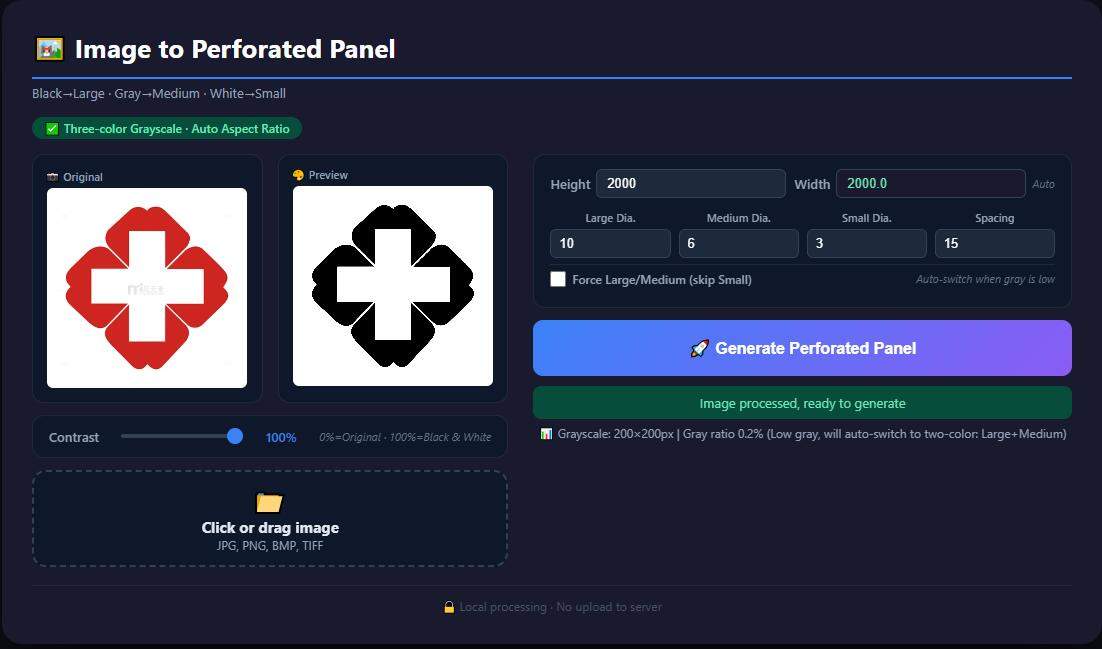
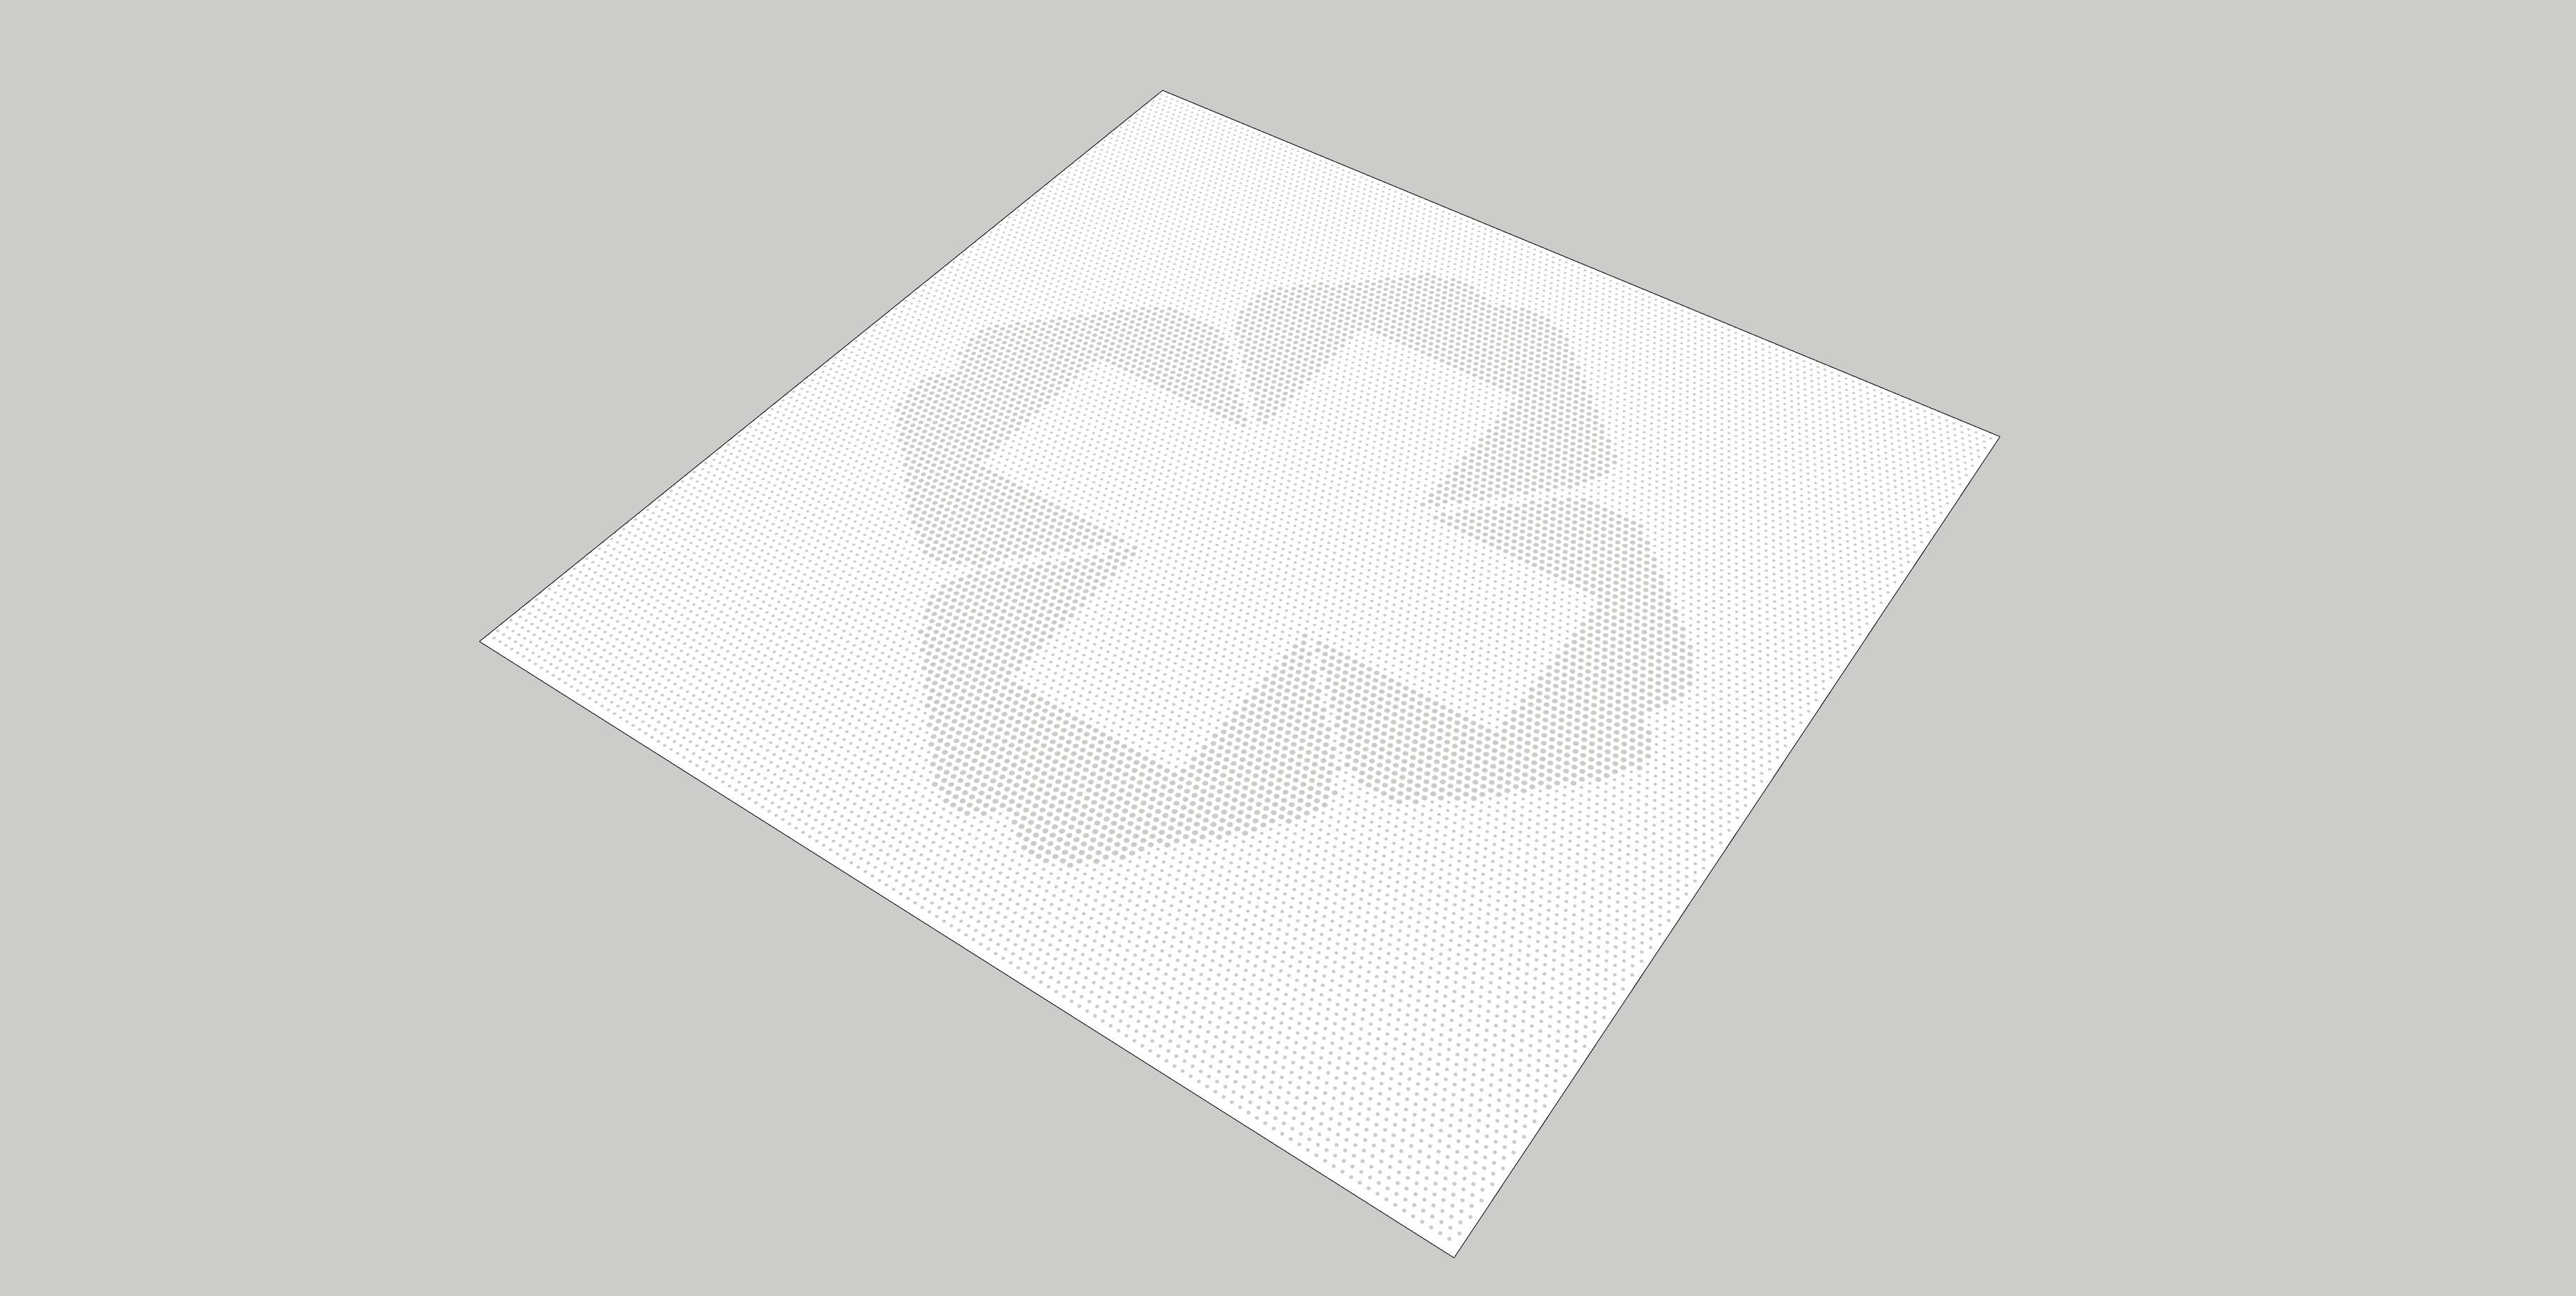
Logo image conversion results:
Portrait image conversion results:
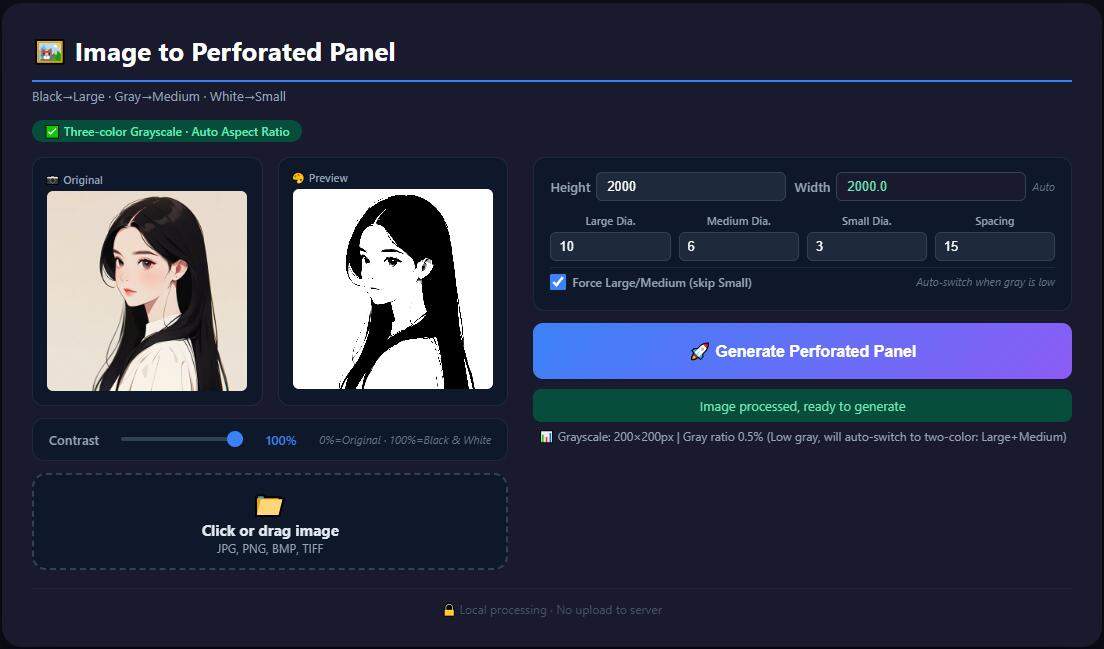
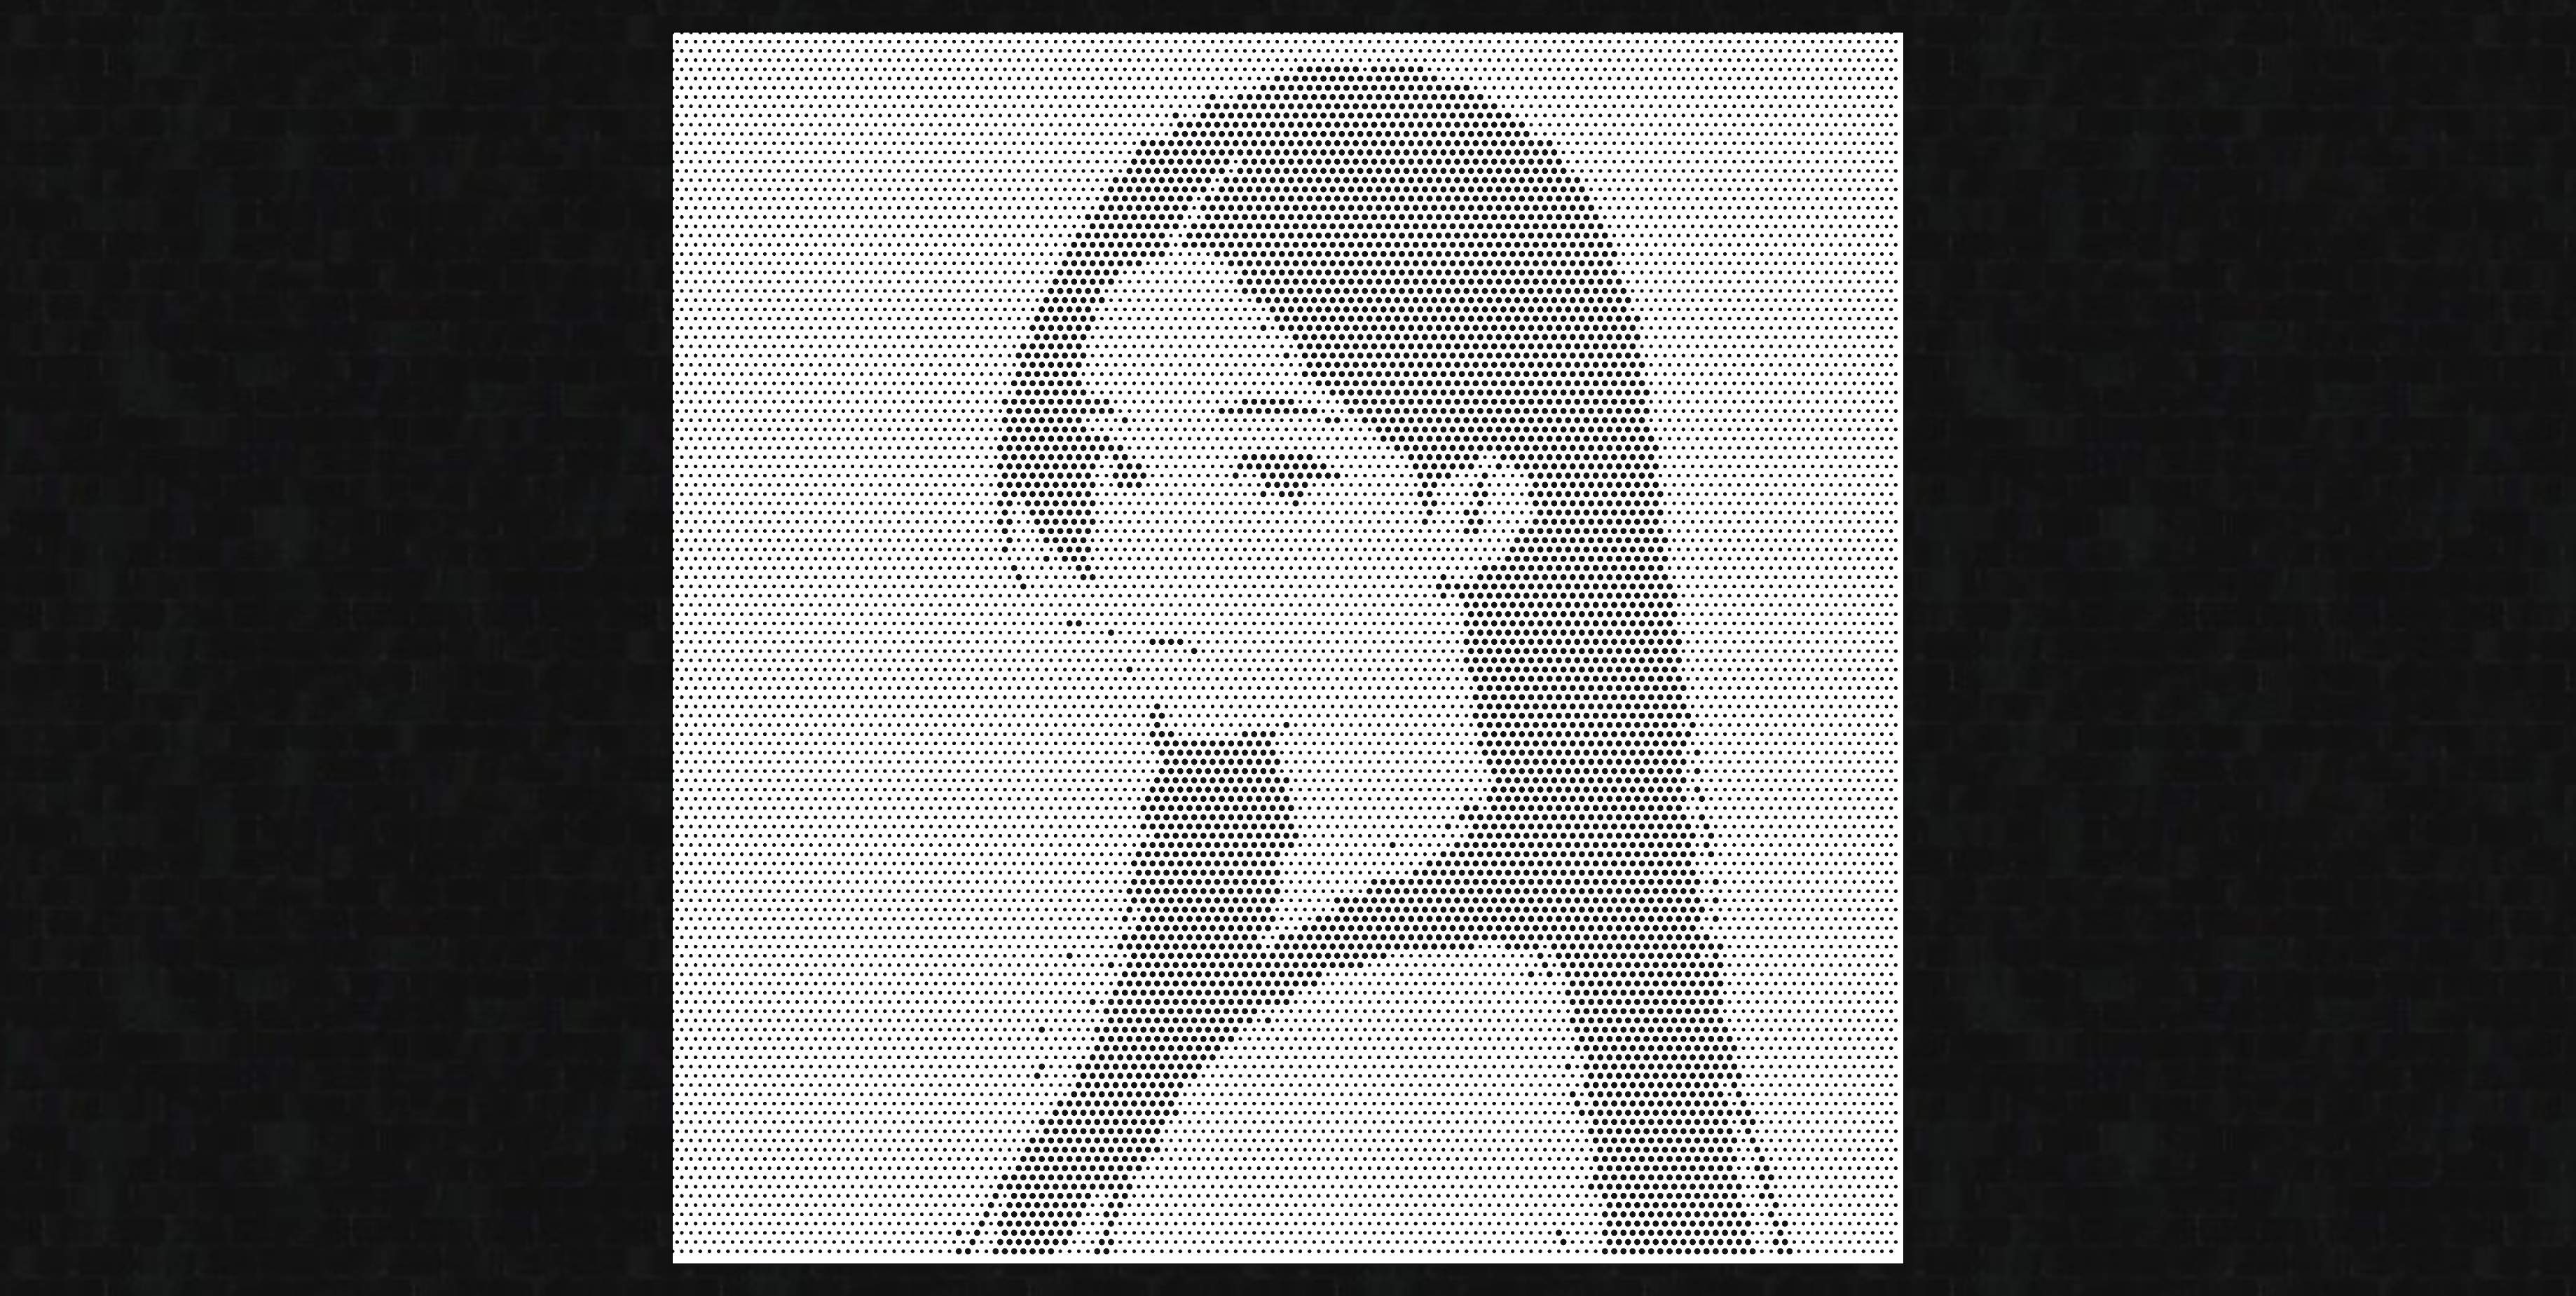
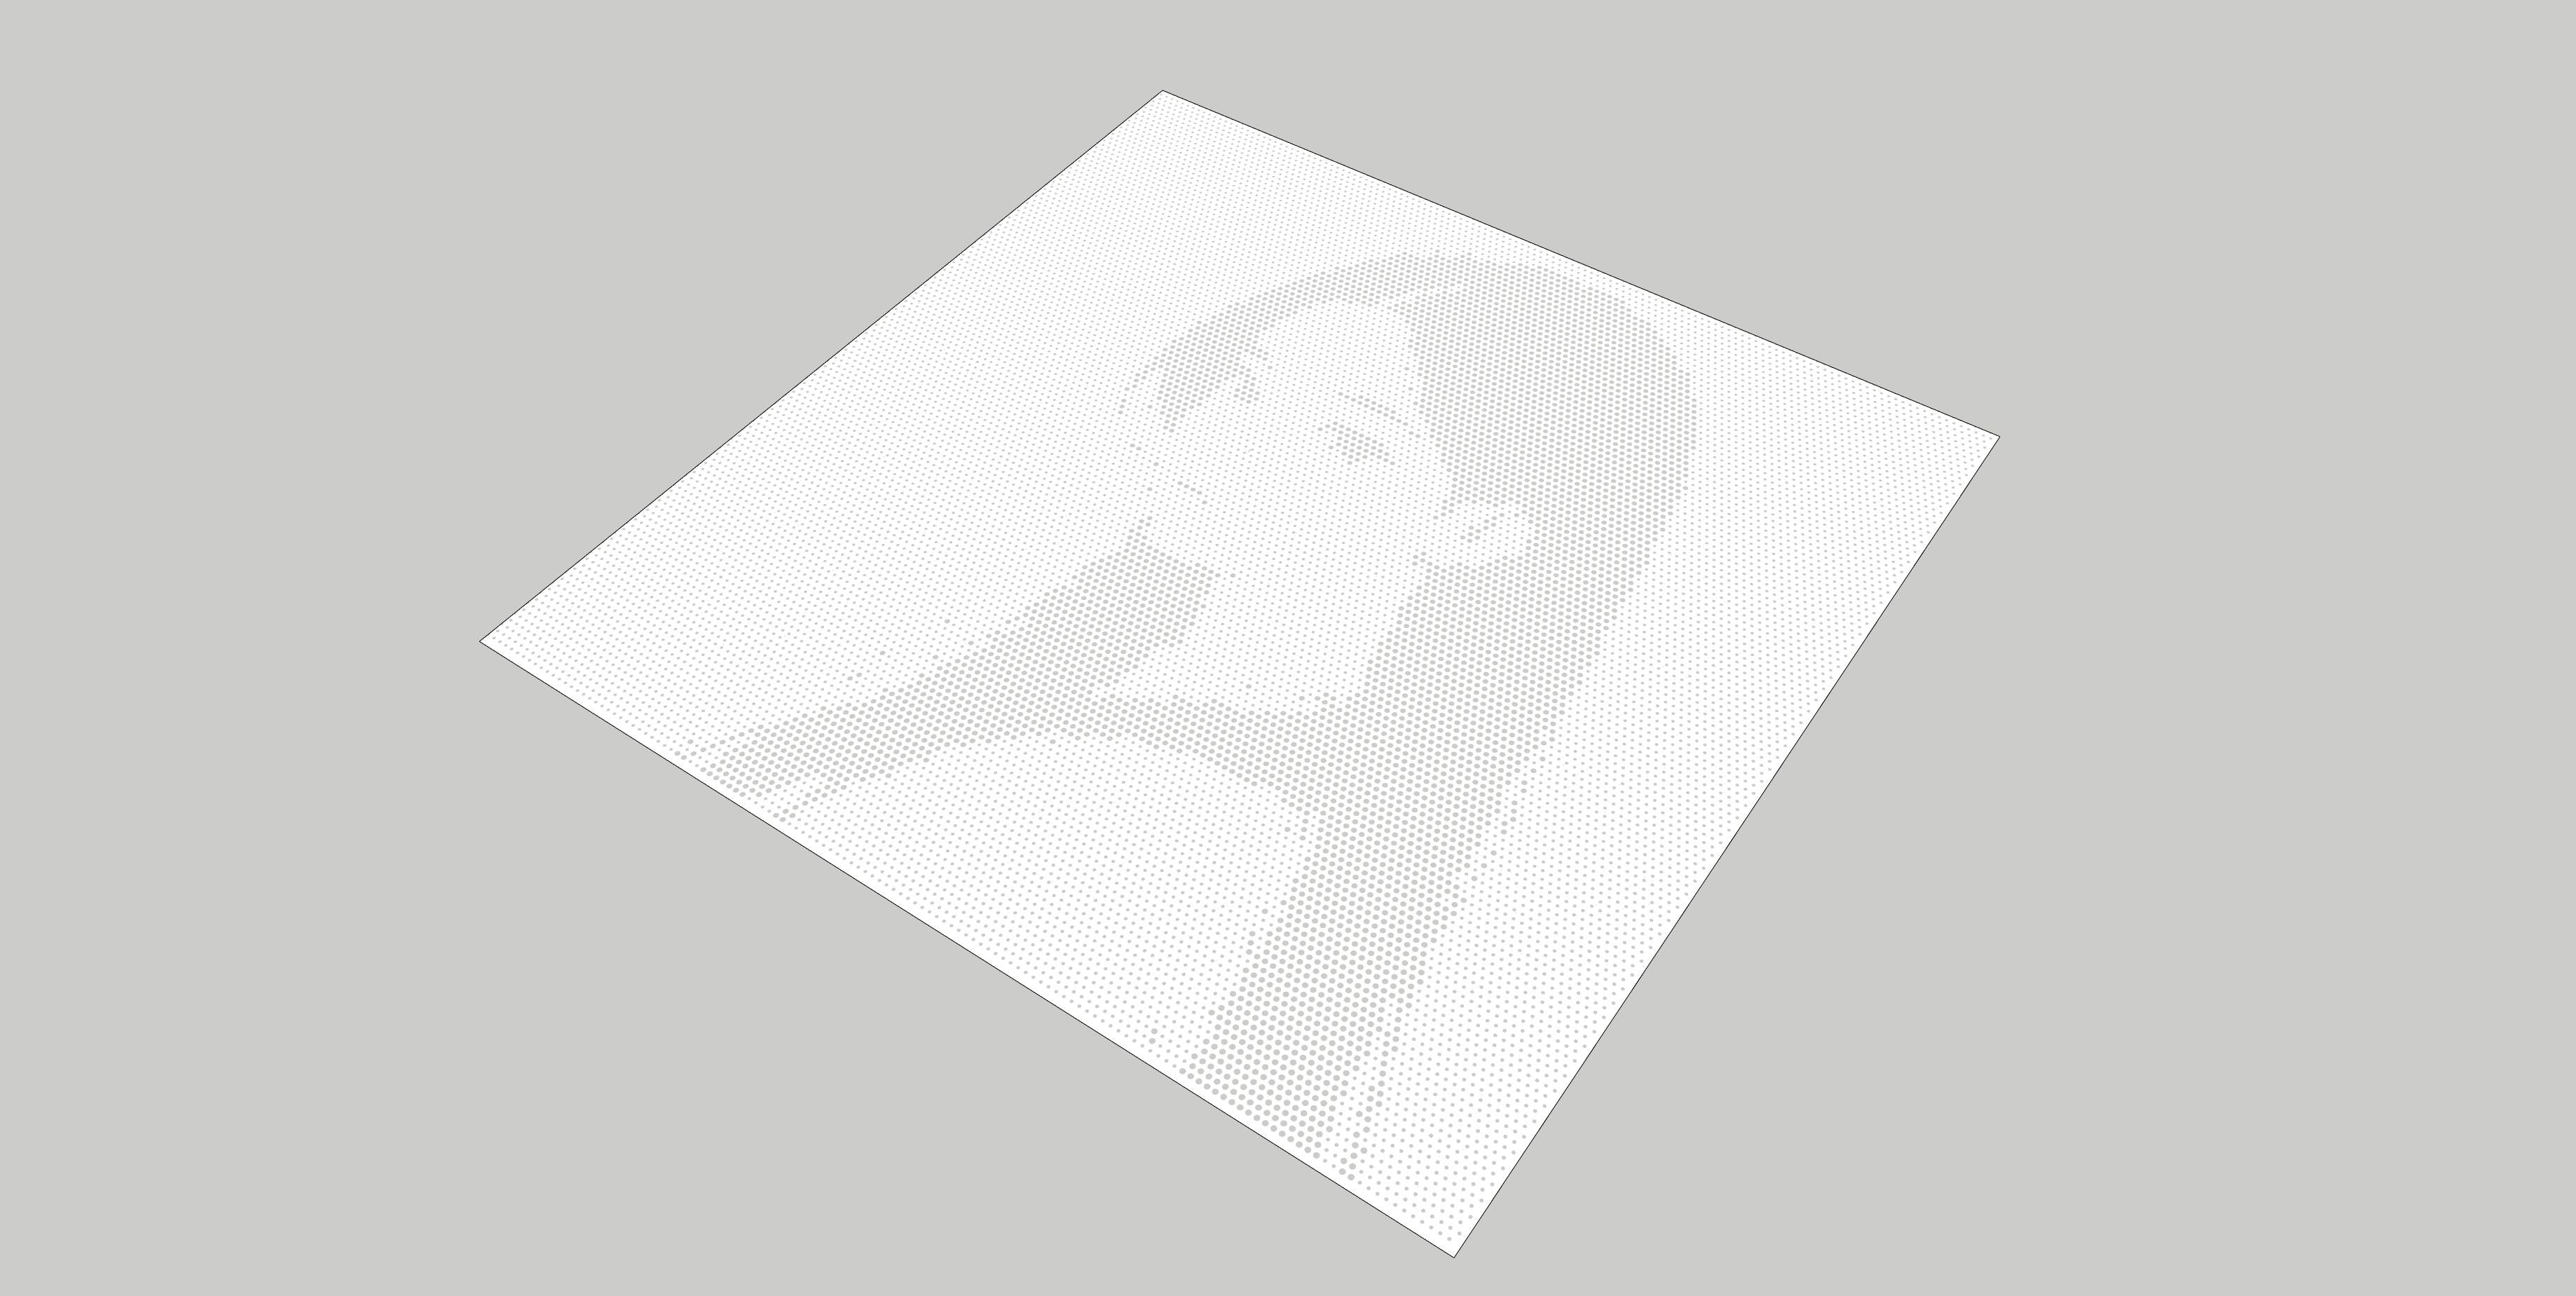
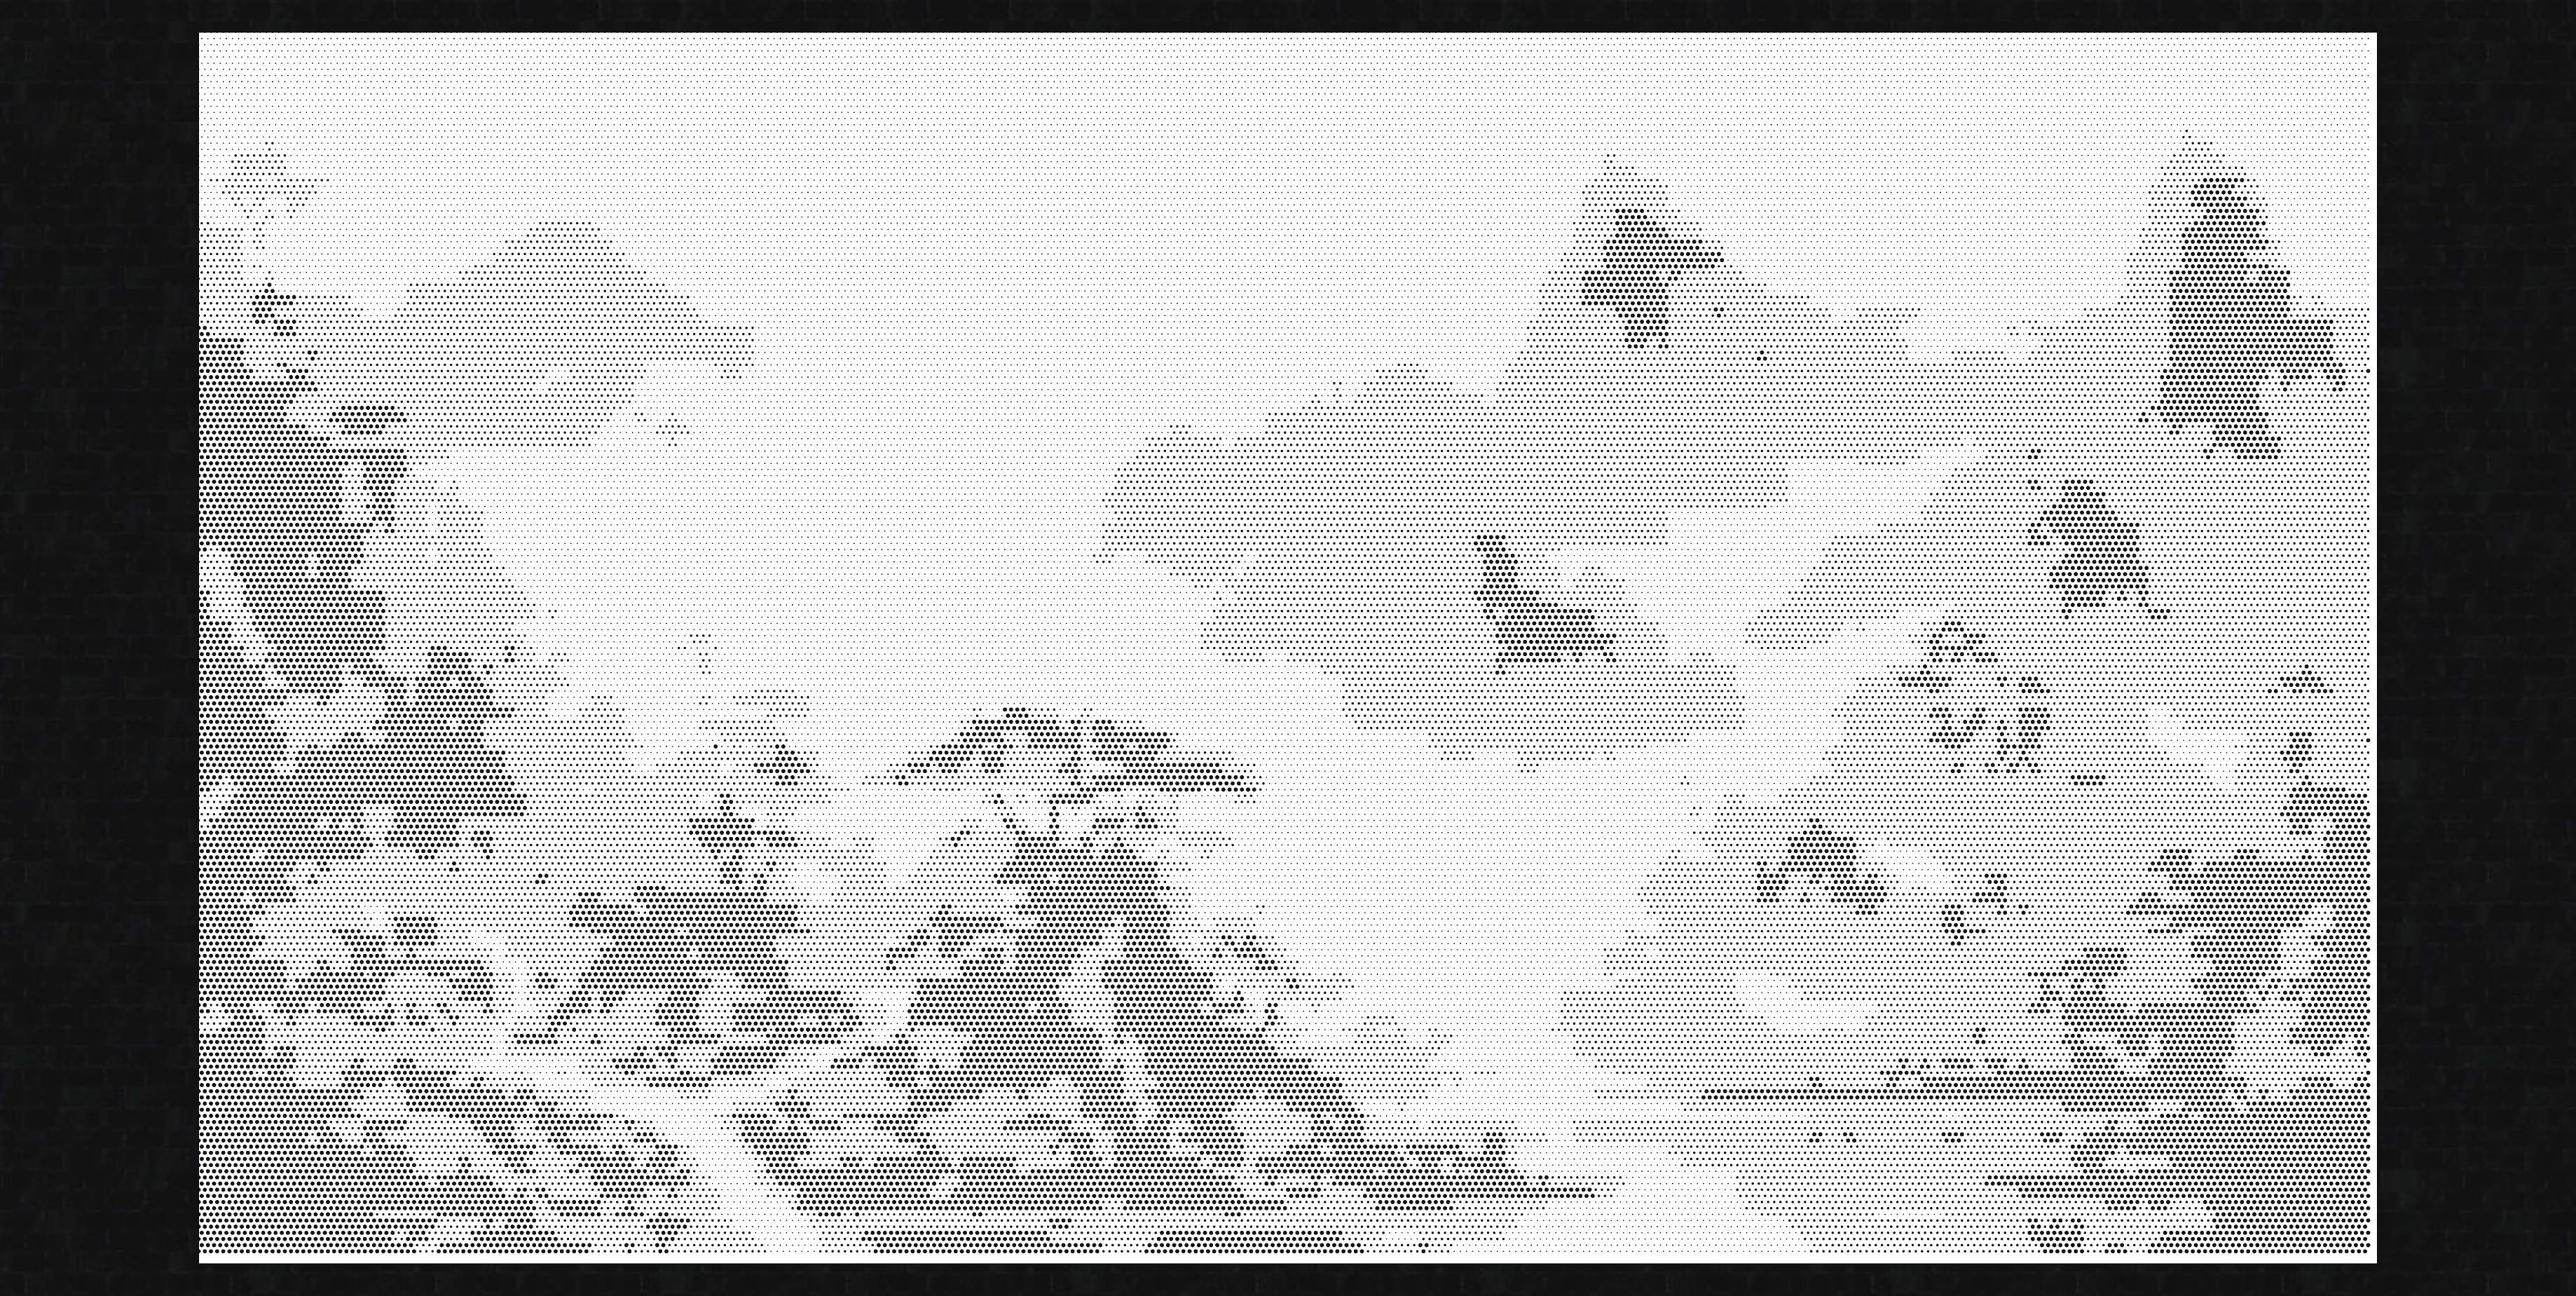
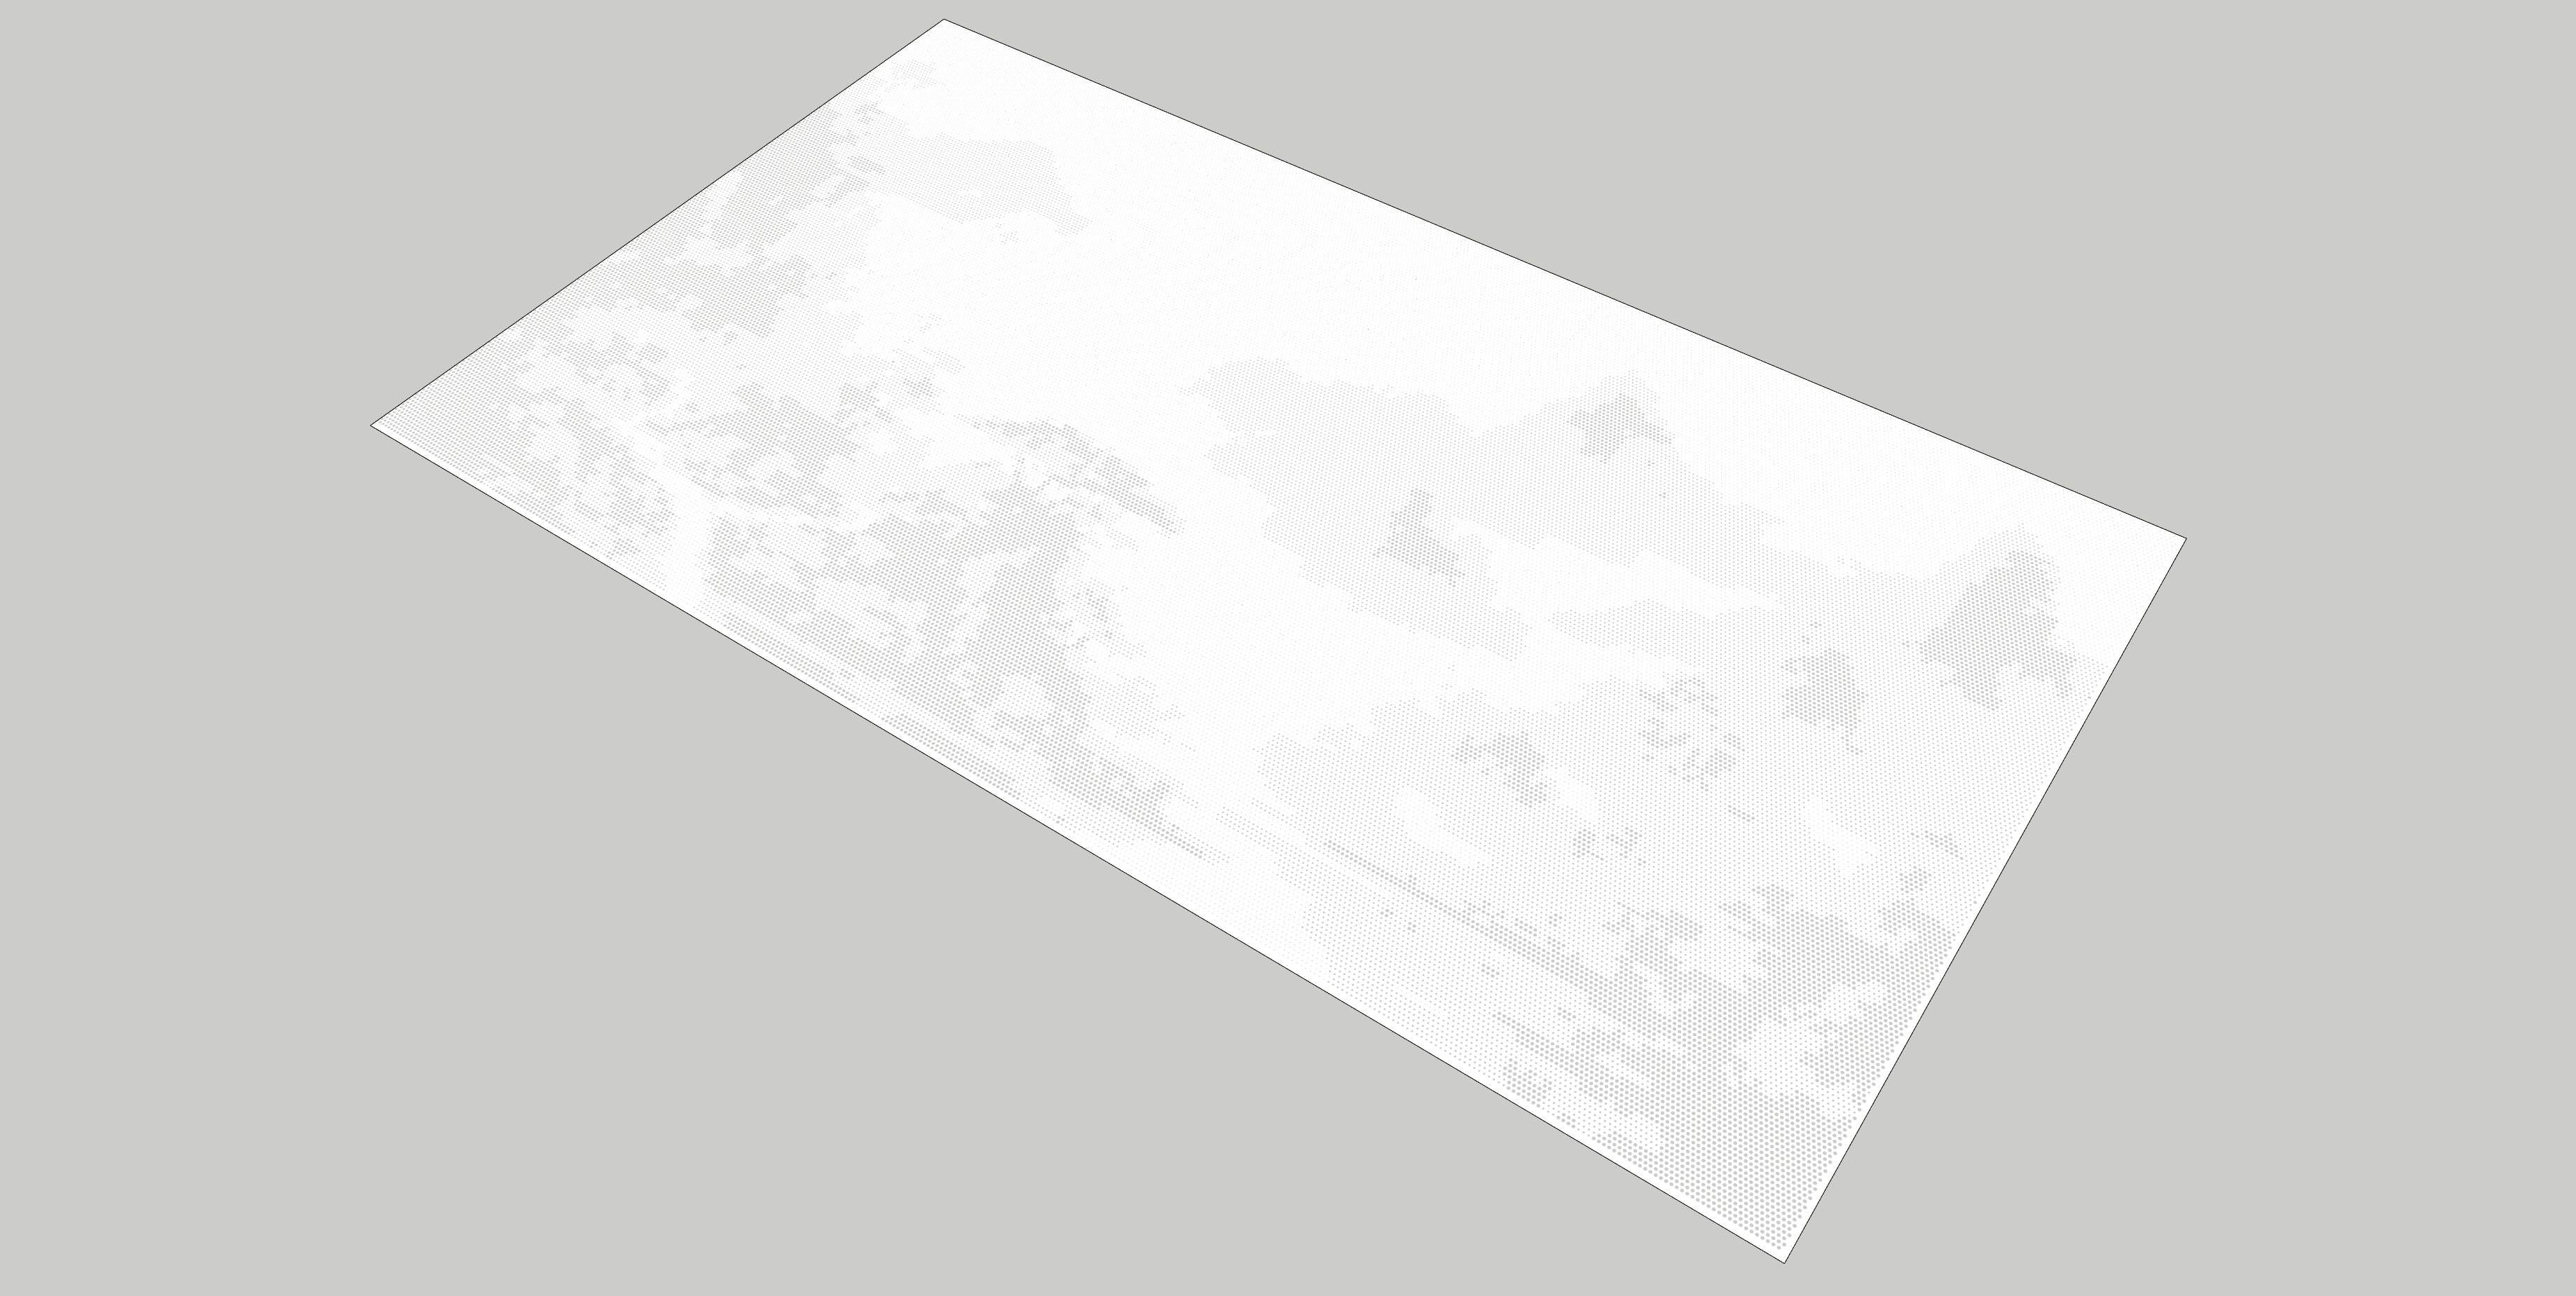
Ink wash landscape conversion results:
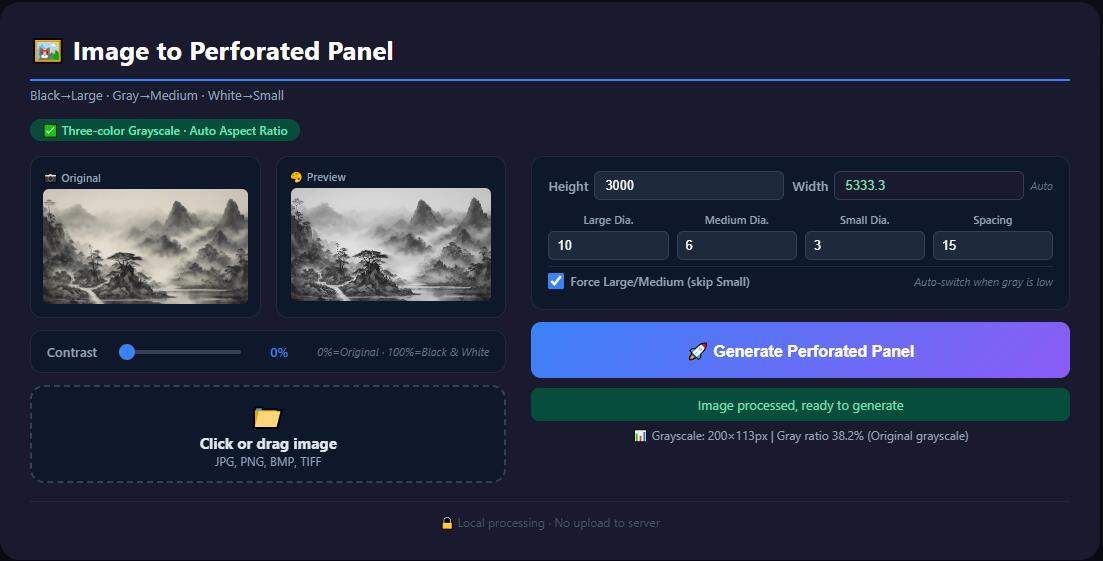
Core Features
- Smart Grayscale Analysis: Automatically analyzes image grayscale distribution to determine optimal levels
- Three-Color Grayscale Mapping: Black→Large, Gray→Medium, White→Small holes for clear layering
- Auto Aspect Ratio: Set only the height; width auto-calculates from image proportions
- Real-time Preview: Instant grayscale effect preview after image upload
- Contrast Control: Slider adjusts image contrast; 0% preserves original grayscale, 100% produces black & white
- Component-Based Cutting: Uses SketchUp component cutting technology for efficient, lightweight models
- Local Processing: All data stays on your machine — no uploads to any server, privacy guaranteed
Workflow
- Launch the plugin in SketchUp (Extensions → ImageToPerforatedPanel)
- Browser opens the interface automatically
- Upload an image (JPG, PNG, BMP, TIFF supported)
- Set actual height, hole diameters, spacing, etc.
- Note: 1. Units are in millimeters; 2. Actual width auto-calculates from image aspect ratio; 3. Spacing should be at least 1.5 times the maximum hole diameter
- Adjust contrast slider for desired grayscale effect
- Click “Generate Perforated Panel” to create the model in SketchUp (more holes = slower generation, program may appear frozen)
System Requirements
- Tested on SketchUp 2019 only
- Windows OS
Included Files & Installation
1. Plugin Source Code
- Main program: ImageToPerforatedPanel.rb
2. Installation Methods
Method 1: Use my “Plugin Tray” — place the main program anywhere in the plugins folder. (See my previous blog posts for the Plugin Tray source code)
Method 2: If you prefer not to use my “Plugin Tray,” place the main program in SketchUp’s plugins root directory and modify it as follows. It will then appear in your “Extensions” menu:
  (1) Comment out all hot-reload related code:
    #require 'D:/MySketchUpPlugin/src/hot_reload.rb'
    #HotReload.enable(__FILE__) if defined?(HotReload)

  (2) Add the following to the end of the main program:
    #=============================================================================
    # Menu Registration
    #=============================================================================
    unless file_loaded?(__FILE__)
      plugins_menu = UI.menu("Plugins")
      plugins_menu.add_separator
      plugins_menu.add_item("ImageToPerforatedPanel") {
        ImageToPerforatedPanel.new.run
      }
      file_loaded(__FILE__)
    end
Download